
Add a new document
Go to the Documents module and look for the "+ ADD DOCUMENT" button over on the right hand side.

Click the button to open the Add Document form.
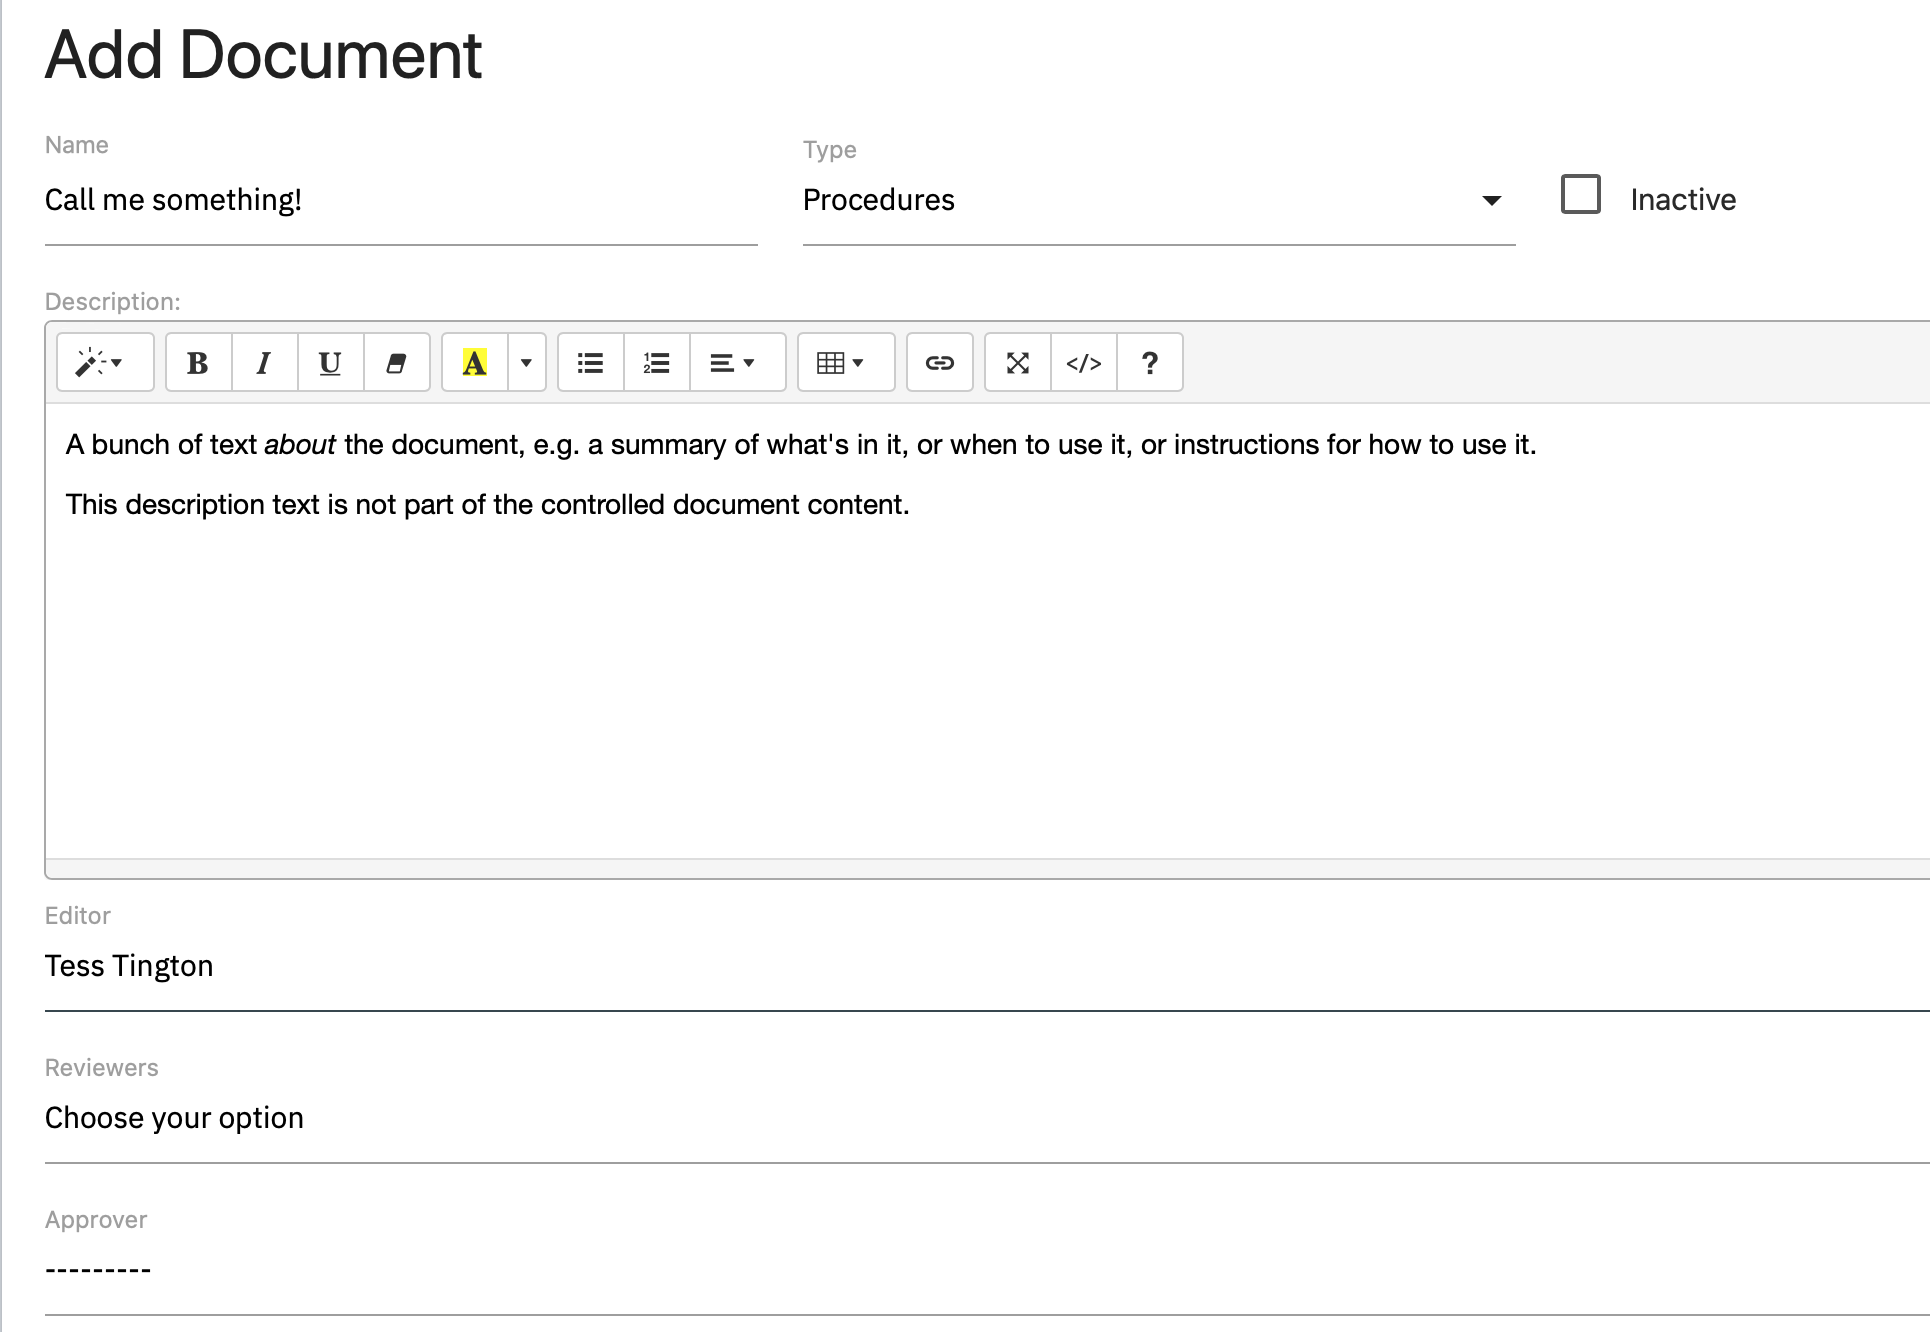
You must give your new document a name, but everything else on the form is optional. You can start with a name and come back to enter the remaining details later.
- Name: The document identifier. If you use document numbers, these go here too. The default sorting for documents is alphabetically on name, so putting the number first is often a good choice. (You can change the sort order by clicking on the column headings)
- Type: The type or category of document. e.g. a policy, procedure or form. Change these types in Settings.
- Description: General info about the document, what it is for, what it contains, how to use it. etc.
- Editor: Who can make changes to the draft version
- Reviewers: Who is allowed to see the draft / pending version to provide feedback
- Approver: Who is responsible for releasing the document.
- Due Date: When is this document due - due for release if it is pending, due for review.
- Projects: Projects this document belongs to (can be multiple, or none)
- Tags: used for search & reports. change the list in settings.
Don't forget to click [SAVE] at the bottom of the window.
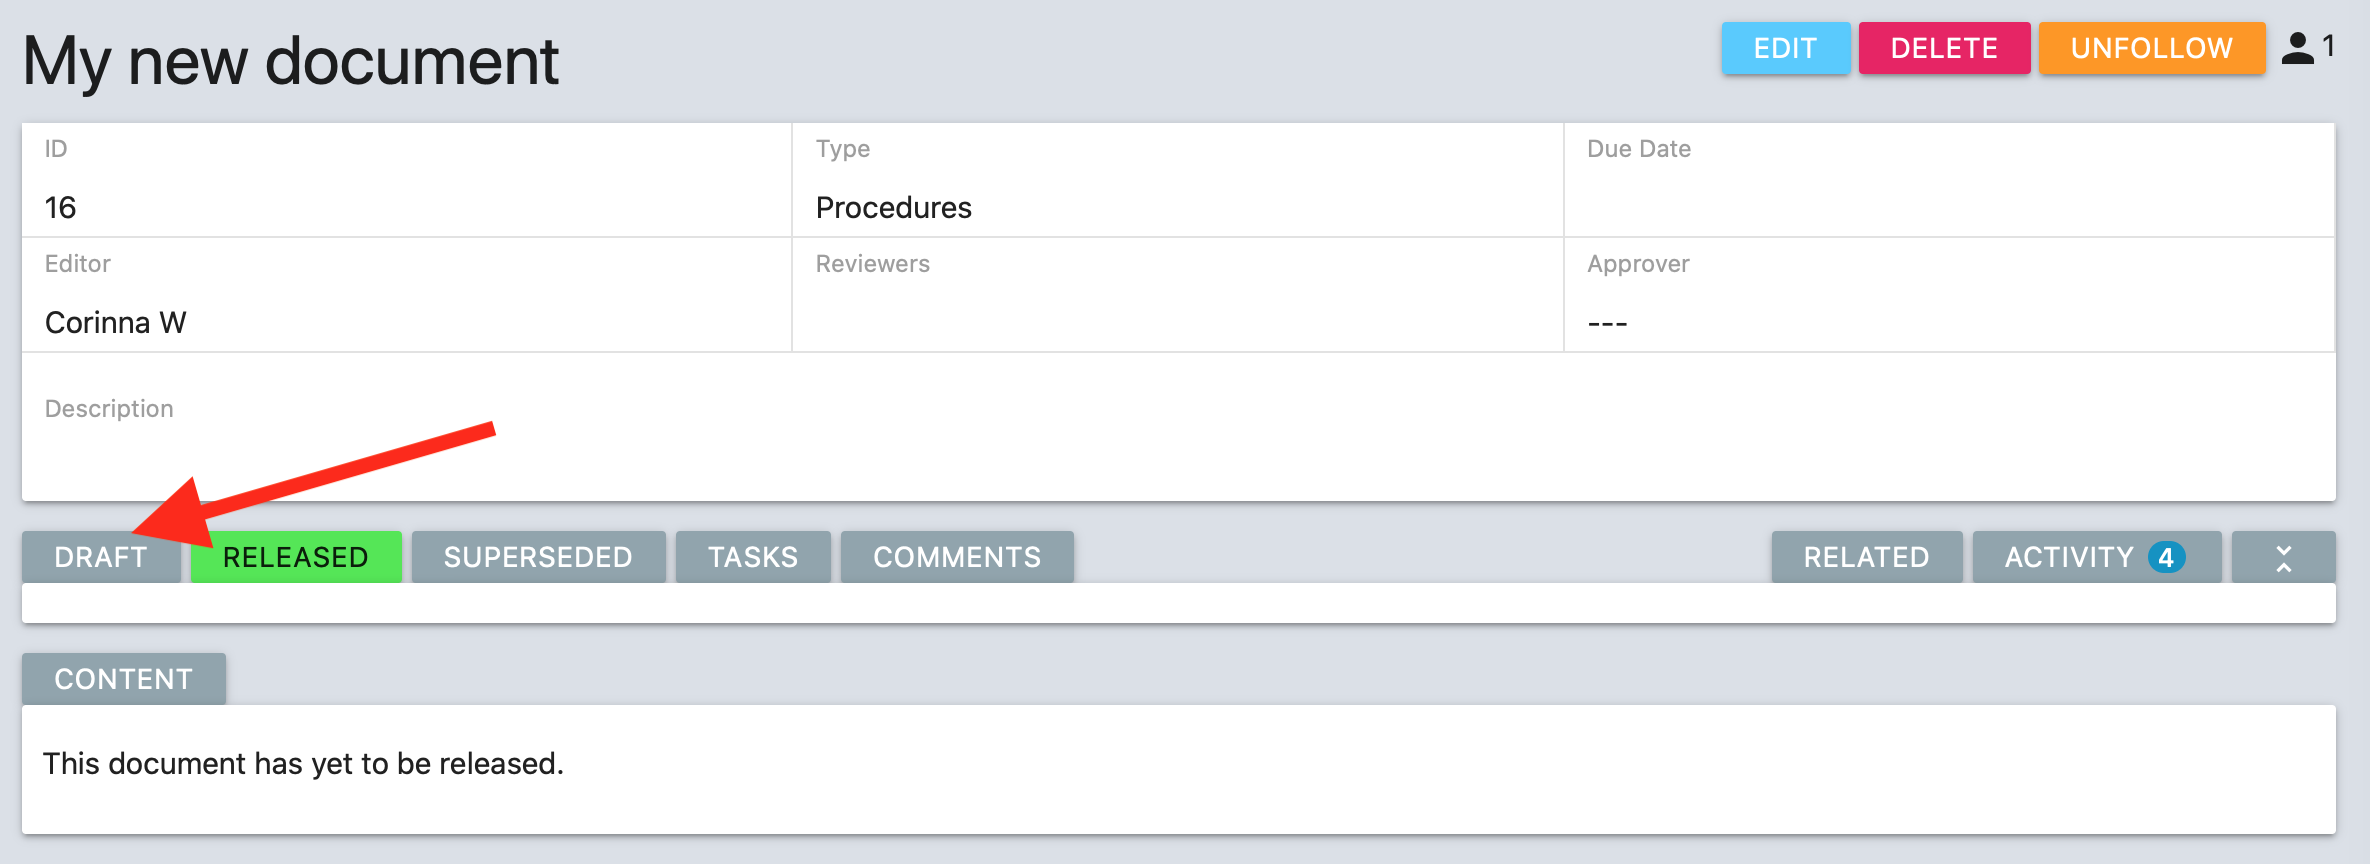
When you save the document, it will open up on the 'Released' tab. However there's nothing there to see because so far, you've only created a place for the document to go, but not actually created the document yet.
Go to the "Draft" tab to do that.
 The 'Draft' tab is the only place to make changes to the controlled document content.
The first section under the Draft tab contains the revision information:
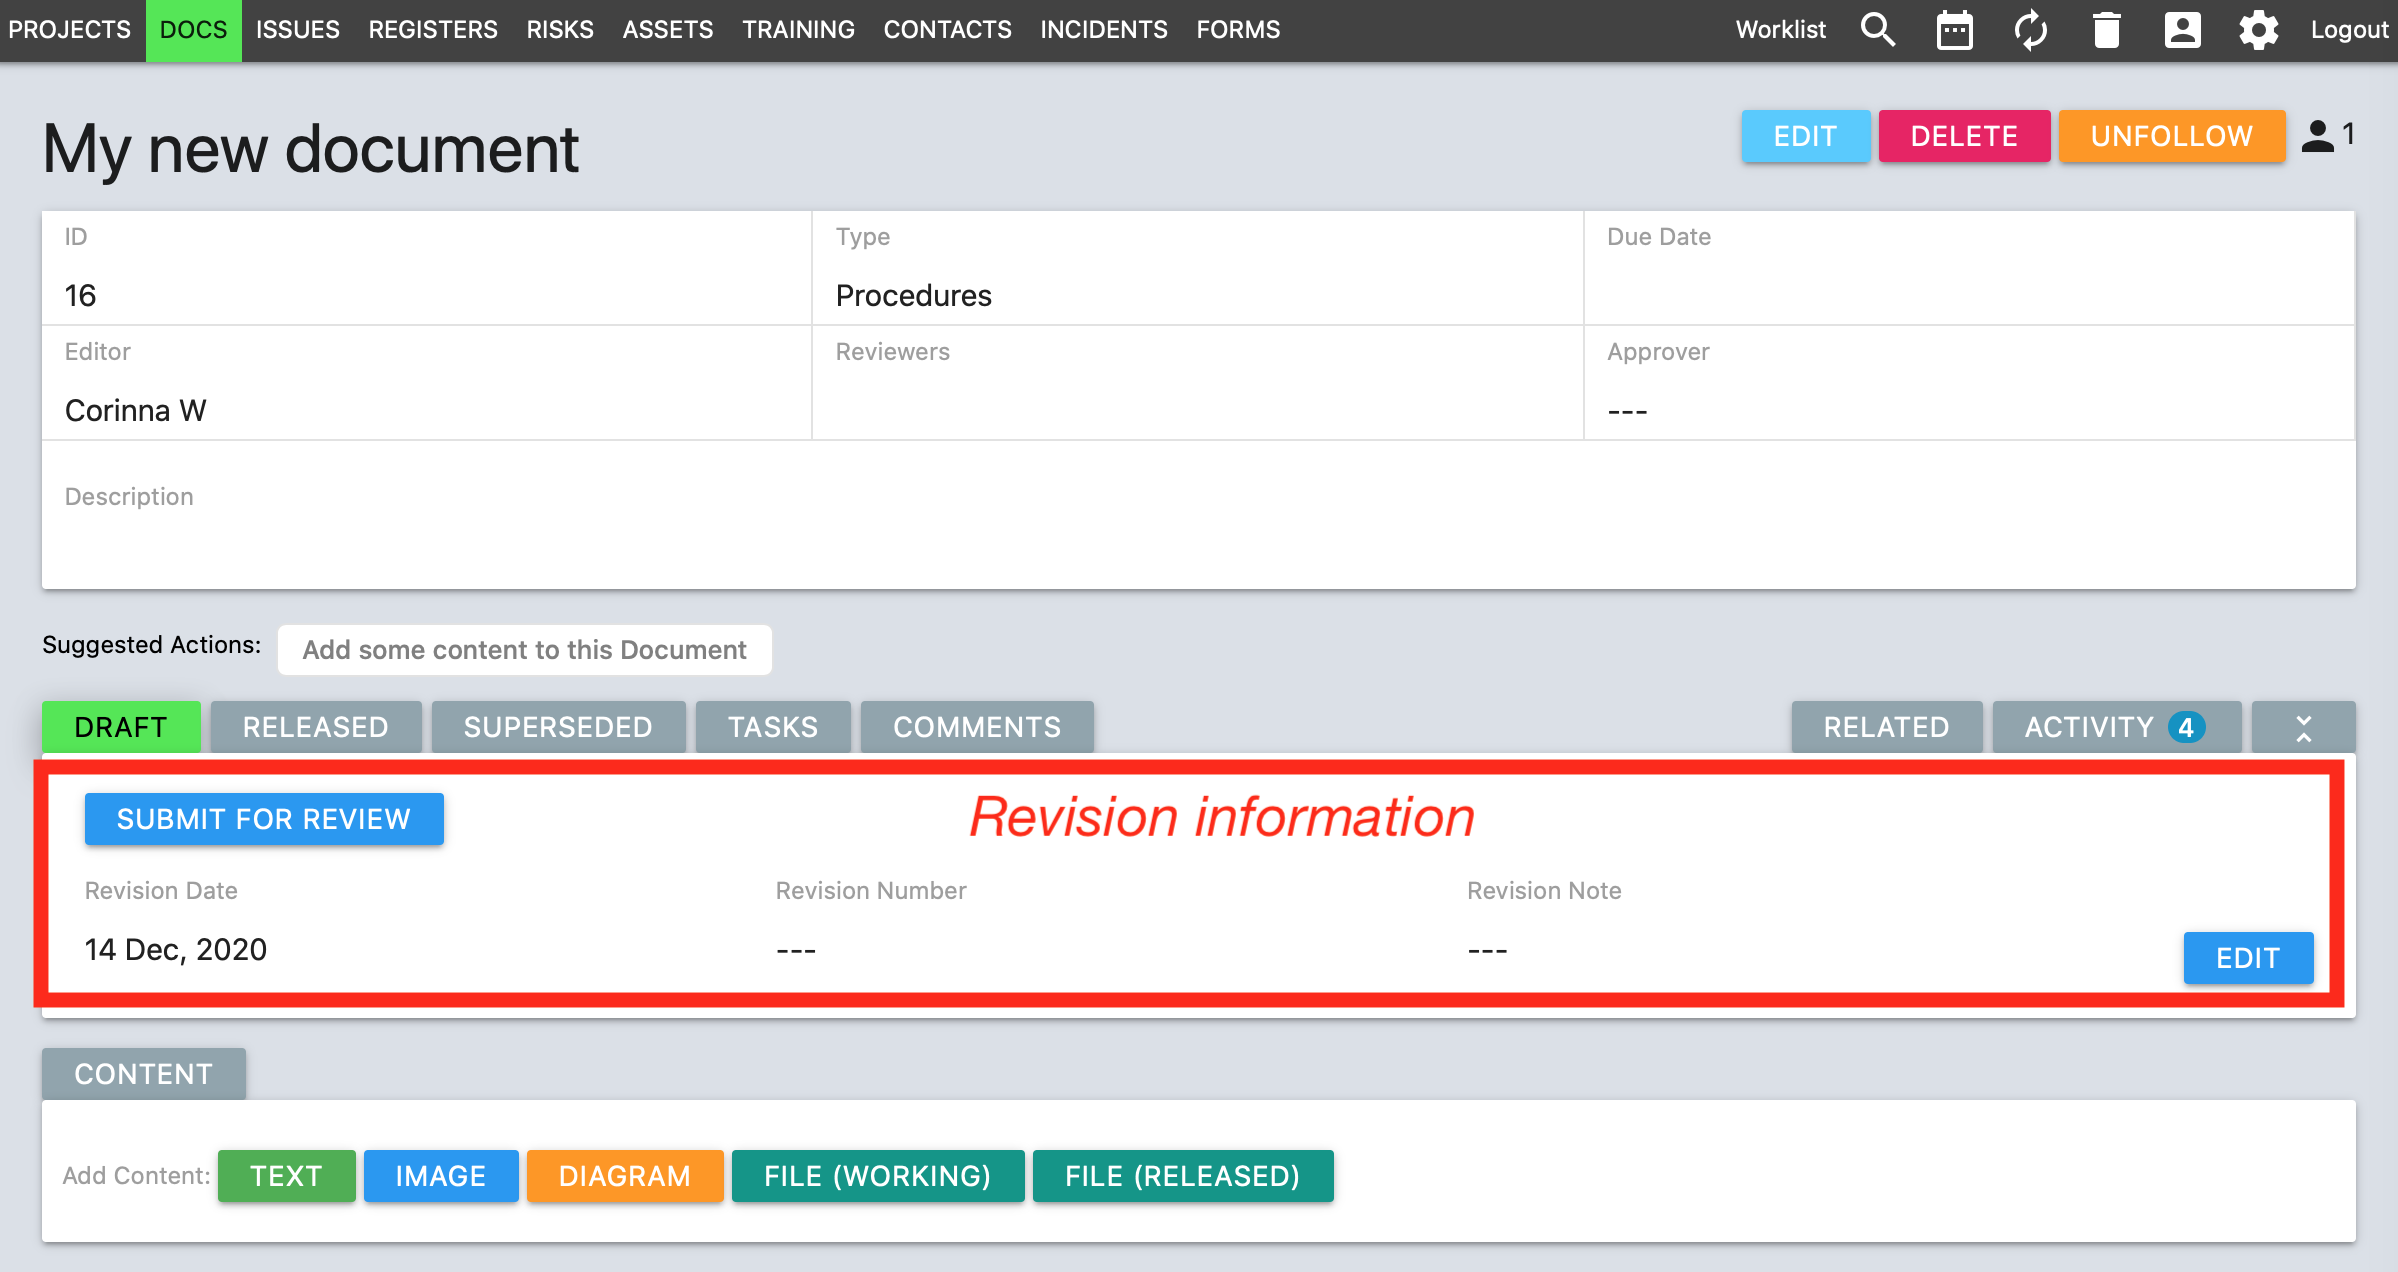
- Revision date - when the document was changed - today, last week, last year.
- Revision number - if you use numbers to track revisions, enter that here.
- Revision note - what changes were made for this revision.
Click on the "EDIT" button over on the right to update the revision information.
The next section is for the content of the controlled document:
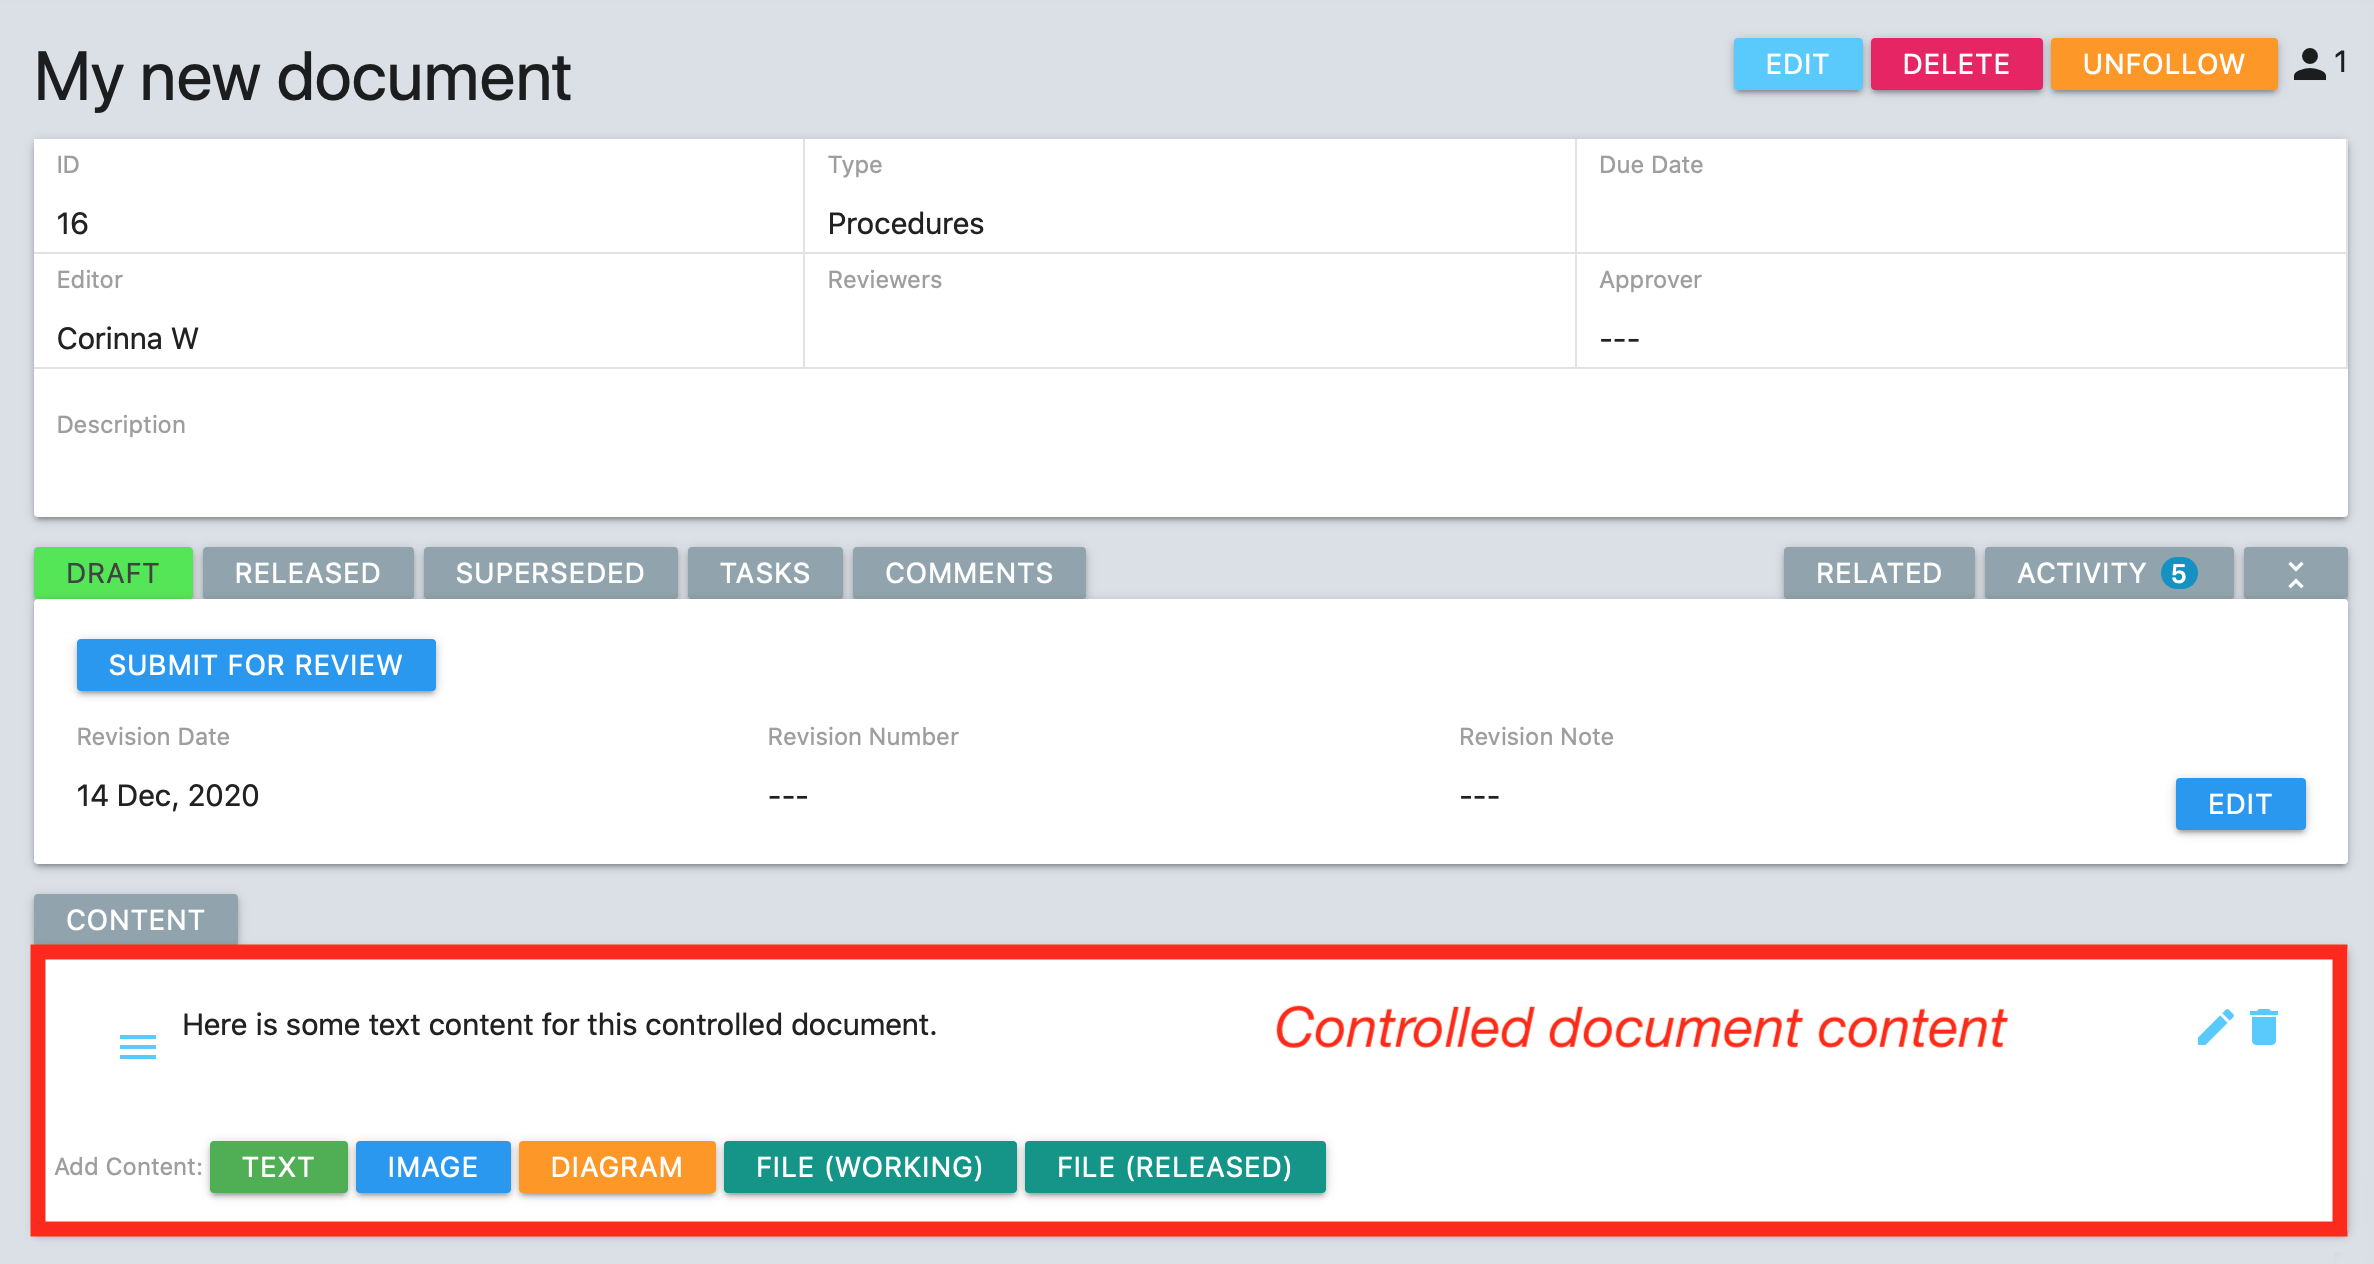
You can build a document within Toolbox, using any number of Text, Image and Diagram sections.
OR you can upload a document as a file. There are two 'File' options - one will be visible on release and the other stays hidden as a master file. (e.g. you want to release a pdf, but retain the docx file for editing)
When you approve and release a Document, the revision information and the document content are released together.
We talk more about adding document content in the next section. 'Content' can mean uploading a file or building your document in QSToolbox with the text, image, diagram blocks.
Next: Add Document Content